How to Create a Simple Return Deadline System for Online Orders
Stop missing return windows with a simple system for tracking online orders, saving proof, keeping packaging together, and confirming refunds before the deadline passes.
Have you ever found an unopened package, checked the return policy, and realized the deadline passed three days ago?
That small mistake can turn a $42 desk lamp, a pair of shoes, or a duplicate phone case into permanent clutter. Online shopping makes buying easy, but returns still depend on small details: dates, labels, packaging, pickup windows, refund emails, and whether the item is still in returnable condition.
A simple return deadline system gives every order a clear next step before it disappears into a corner.

Why Return Deadlines Slip
Return deadlines are easy to miss because they do not feel urgent at first.
The package arrives. You think, “I’ll try it later.” Then the box gets moved from the entryway to a chair, from the chair to a closet, and from the closet to that mysterious household zone where small errands go quiet.
The problem is not memory. It is timing.
A return usually has four moving parts:
- The last return date
- The item condition
- The packaging or return label
- The refund confirmation
If any one of those gets lost, the whole return becomes harder than it should be.
The Simple Rule
Use this rule for every online order you might return:
Decide, date, and place it before the box leaves your hands.
That means you do three tiny things on delivery day:
- Decide whether the item is definitely keeping, definitely returning, or still being tested
- Save the final return date somewhere visible
- Put the item in one clear place until the decision is finished
This takes about two minutes. That is the point. A return system that depends on a long weekly cleanup will fail on busy weeks.
Create One Return Deadline List
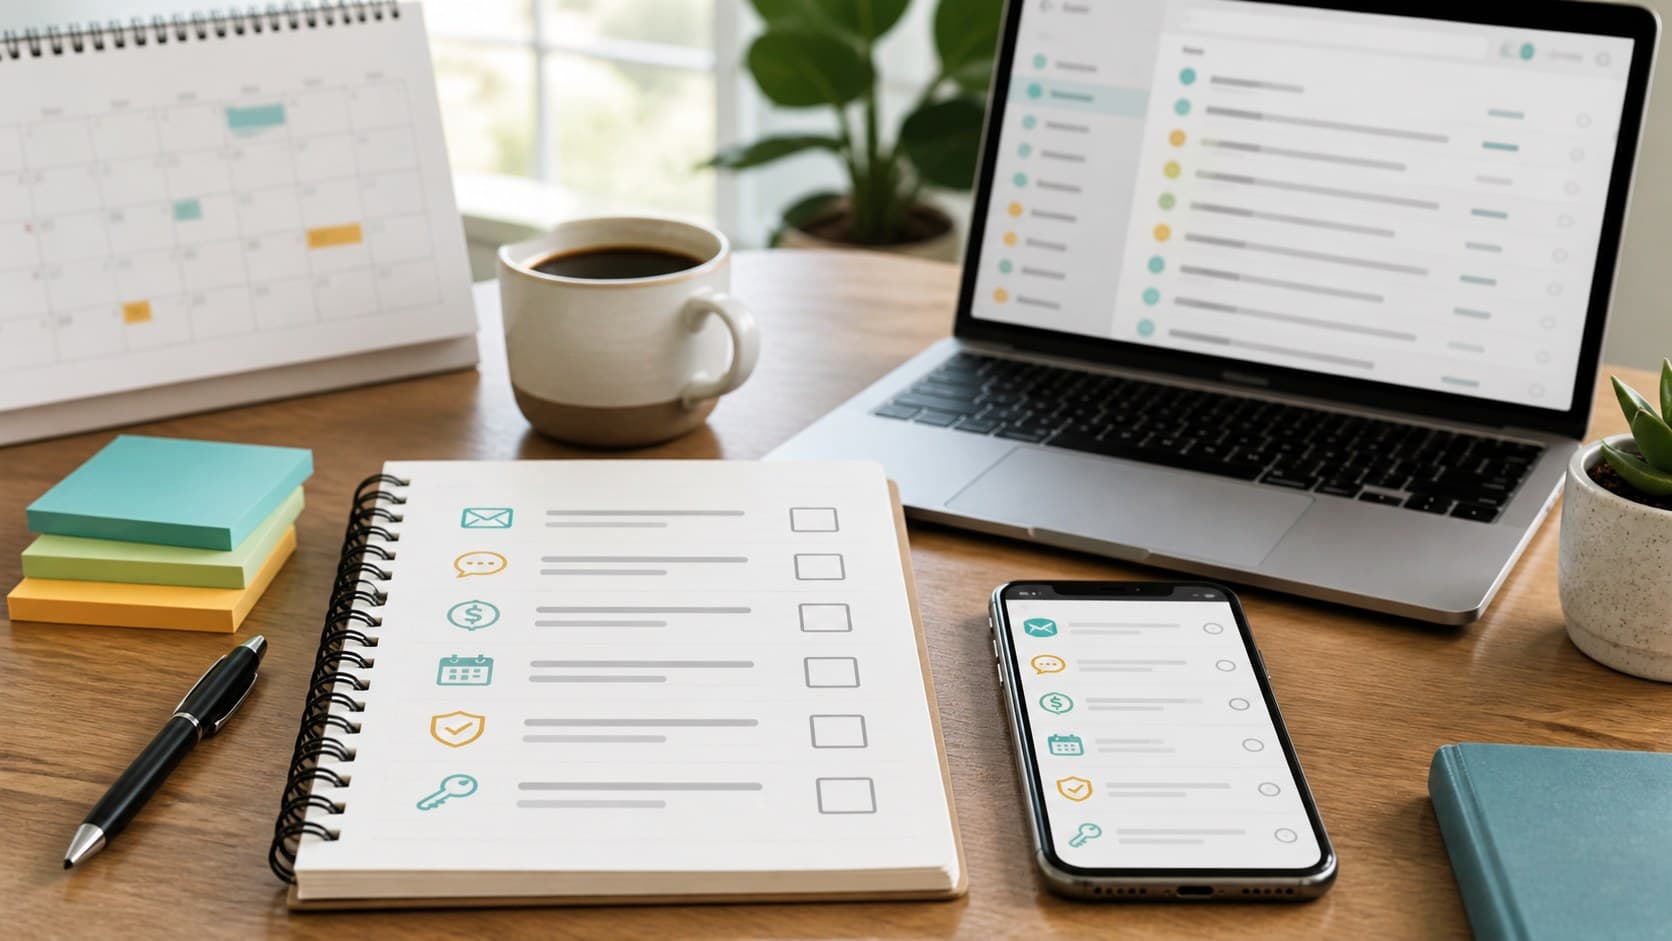
You only need one list. It can live in Google Keep, Apple Notes, Notion, Todoist, a paper notebook, or your phone calendar.
Use whichever tool you already check. A perfect system in an app you forget to open is just decoration.
Create a note called:
Return Deadlines
Then add every uncertain order in this format:
| Item | Last return date | Current status |
|---|---|---|
| Desk lamp | March 18 | Test brightness tonight |
| Black sneakers | March 22 | Try with thick socks |
| Phone case | March 25 | Return label ready |
Keep it short. You are not building an order database. You are giving future-you enough information to act fast.

Add a Calendar Reminder Before the Final Day
Do not set the reminder for the actual deadline.
Set it three to five days earlier.
If the return window ends on April 25, add a reminder for April 20 or April 21. That buffer matters because returns can involve printing a label, finding packaging, scheduling a pickup, driving to a drop-off point, or waiting for store support to fix a return code.
Use a simple reminder title:
Return or keep: desk lamp
Add the store name only if it helps you find the email faster. Avoid stuffing the reminder with too much detail. The job of the alert is to make you open the return list.
For higher-value items, set two reminders:
- One reminder five days before the deadline
- One reminder two days before the deadline
This is especially useful for electronics, furniture, appliances, shoes, and anything that needs testing.
Make a Small Return Station
A return station is just one physical place where returnable items wait.
It can be:
- A small bin near the door
- One shelf in a closet
- A reusable tote bag
- A corner of a desk
- A box labeled “Returns”
The location matters less than consistency. When an item might go back, it goes there.
Keep these basic supplies nearby:
- Packing tape
- Scissors
- A marker
- Spare mailers or shipping boxes
- Printed labels, if you use them
- Any inserts, tags, or accessories that came with the item
This prevents the classic return problem: you decide to send something back, then spend 20 minutes hunting for the charger, original pouch, extra screws, invoice slip, or shoebox.

Take Two Photos Before You Pack It
Before sending back an item, take two quick photos:
- One photo of the item’s condition
- One photo of the packed return with the label visible
This is not about being paranoid. It is about having proof if the return gets delayed, scanned late, or questioned.
For example, if you return a pair of headphones with the cable included, photograph the headphones, cable, case, and box together before sealing it. That one photo can save a long support chat later.
Keep the photos until the refund lands. After that, delete them during your next phone cleanup.
Use Email Search Smarter
When you need return details, search your email with practical words, not just the store name.
Try searches like:
- `return label`
- `refund started`
- `order delivered`
- `return window`
- `RMA`
- `drop off`
- `shipping label`
If you use Gmail or Outlook, starring the return email can help, but do not rely on stars alone. Put the actual deadline in your return list or calendar. Email is where details live. Your list is where action lives.
Create a Three-Status System
Every returnable order should have one of three statuses:
Testing means you are still deciding. Maybe you need to try the shoes indoors, test the lamp at night, check whether a cable works, or compare sizes.
Returning means the decision is made, but the package has not been dropped off yet.
Refund pending means the item has been shipped or dropped off, but the money has not come back.
That last status is important. A return is not finished when you hand over the box. It is finished when the refund appears in your account.

Check Refunds Once a Week
Pick one day each week to review refund-pending items.
It can be Friday afternoon, Sunday evening, or the day you already check bills. Open your return list and ask:
- Did the carrier scan the package?
- Did the store confirm the return?
- Did the refund appear?
- Is the amount correct?
- Can I close this item?
A refund can sometimes post as a smaller amount because of shipping fees, restocking fees, discounts, or split payment methods. Checking once keeps surprises from sitting unnoticed.
For small items, a quick glance is enough. For expensive orders, keep the tracking number until the refund is complete.
What to Do on Delivery Day
Here is the easiest delivery-day habit:
Open the package near your return station. Check the item. If you are sure you will keep it, remove the packaging from the return area. If you are unsure, add the item to your return list immediately and set a reminder before the deadline.
Do not tell yourself you will remember later. Later is where return windows vanish.
A useful test is the 24-hour rule. If you cannot decide right away, give yourself one day to test the item properly. Try the shoes on clean flooring. Plug in the gadget. Check the size, color, fit, noise, brightness, or missing parts. Then update the status.
Keep the System Small
A return deadline system should stay light.
Do not track every order forever. Do not save every receipt in three different apps. Do not turn a simple return into a filing project.
Only track items that meet one of these conditions:
- You might return them
- They cost enough that missing the refund would bother you
- They have accessories or packaging you need to keep together
- The return requires a shipping label, pickup, or drop-off
Once the refund is confirmed, remove the item from your active list.
A Simple Template You Can Copy
Use this format in your notes app:
Return Deadlines
Testing - Item: - Store: - Last return date: - Reminder set: - Keep or return by:
Returning - Item: - Label ready: - Drop-off or pickup: - Tracking:
Refund pending - Item: - Sent date: - Refund expected: - Confirmed:
Start with your last three deliveries. Find the return dates, add reminders, and move anything uncertain into one physical spot today. The next return will feel less like a chore and more like a short, finishable errand.
Found this useful?
Send it to someone who should read it.