The Drop Zone Method: A Simple Home Setup That Stops Daily Clutter
A practical guide to creating one small home drop zone for keys, bags, mail, shoes, and everyday items so clutter stops spreading through the house.
Most daily clutter does not start as a big mess.
It starts with small things landing in the wrong places: keys on the counter, mail on the table, shoes by the sofa, a bag on a chair, sunglasses beside the sink, a charger on the floor.
By the end of the day, those small things make the whole home feel busier than it really is.
The drop zone method fixes that with one simple idea: give everyday items a clear landing place near the door.
It does not require a full home makeover. It does not require expensive storage. It just gives the things you carry in and out of the house a place to go before they spread everywhere.
What Is a Drop Zone?
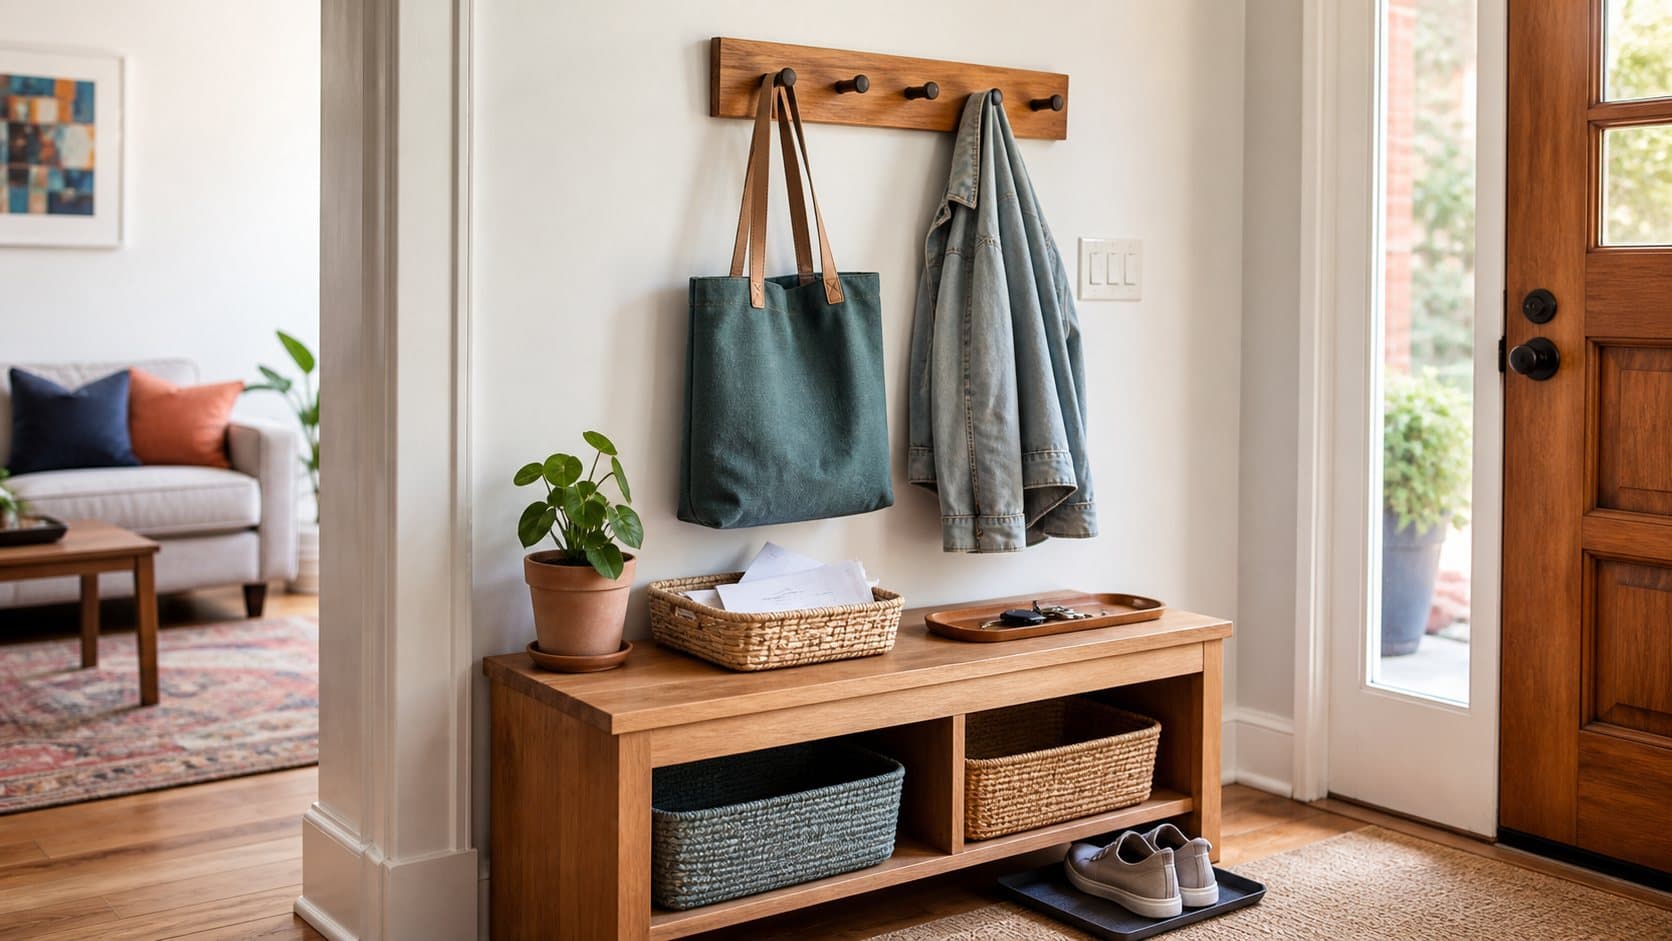
A drop zone is a small area near your entrance where daily items live.
It can be a bench, shelf, tray, basket, wall hook, drawer, or even one corner of a table. The point is not to make it look perfect. The point is to stop repeat clutter before it travels through the home.
A good drop zone usually handles five categories:
| Category | Examples |
|---|---|
| Carry items | Keys, wallet, purse, backpack, tote bag |
| Paper | Mail, receipts, school notes, appointment cards |
| Out-the-door items | Sunglasses, umbrella, reusable bags, headphones |
| Footwear | Daily shoes, slippers, shoe brush |
| Quick returns | Library books, packages, items to take back |
When these items have no home, they create little piles. When they have one shared home, the house feels calmer with less effort.
Why This Works Better Than “Just Cleaning Up”
Cleaning up after clutter spreads is harder than stopping clutter at the door.
If keys land on the kitchen counter, mail lands on the dining table, shoes land in the hallway, and bags land on chairs, you now have four areas to reset. That is why small clutter feels bigger than it is.
A drop zone gives you one place to manage.
Instead of asking, “Where did I put that?” you ask, “Is it in the drop zone?”
That one question saves time, especially on busy days.
Step 1: Choose the Right Spot
The best drop zone is not the prettiest spot. It is the spot you naturally pass when entering or leaving.
For many homes, that means:
- The wall beside the front door
- A narrow hallway table
- A bench near the entrance
- A small shelf by the garage door
- A corner near the kitchen entrance
- A closet door with hooks
Do not choose a place you wish you used. Choose the place where items already land.
If everyone drops keys on the kitchen counter, your drop zone may need to start there. You can make it more organized first, then move it later if needed.
Step 2: Use Zones, Not Random Containers
The most common mistake is buying one big basket and putting everything inside it.
That works for one day. Then the basket becomes a mixed pile of keys, papers, receipts, headphones, coins, and random items.
Instead, create small zones.
You do not need fancy organizers. You just need separation.
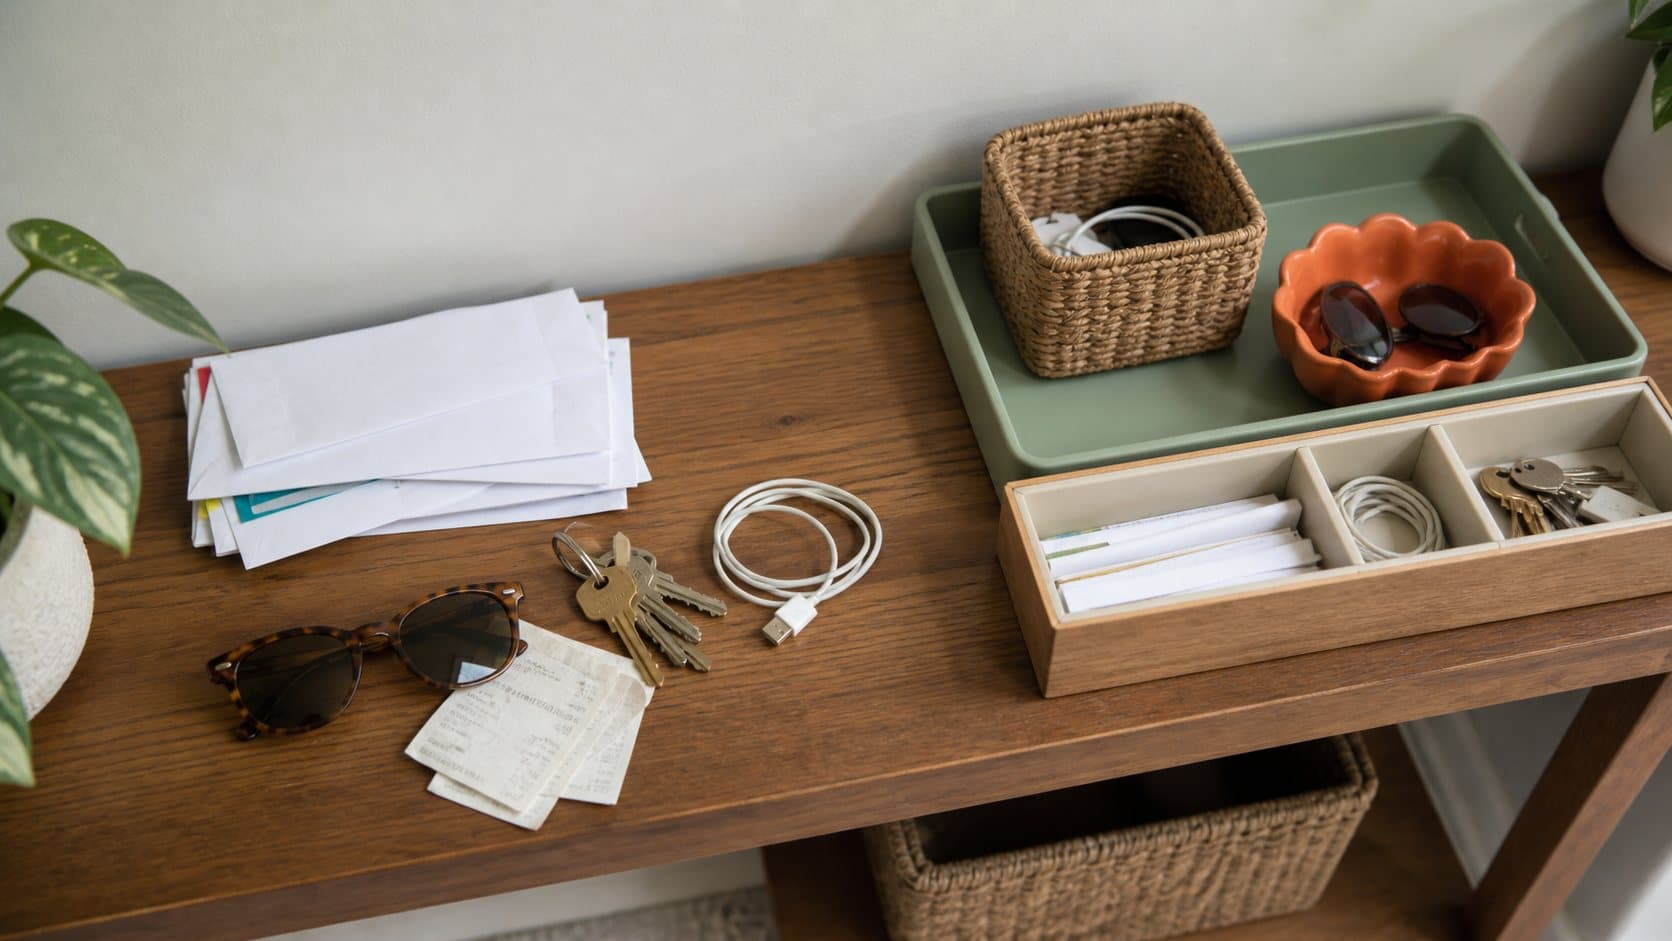
Try this simple setup:
| Zone | What to Use | What Goes There |
|---|---|---|
| Key zone | Small tray or hook | Keys, wallet, badge |
| Paper zone | Upright mail holder or shallow basket | Mail, forms, receipts |
| Bag zone | Wall hook or bench space | Purse, backpack, tote |
| Shoe zone | Mat, rack, or basket | Daily shoes only |
| Return zone | Small bin | Items that need to leave the house |
Each zone should be obvious at a glance. If you have to think too much, the system will not last.
Step 3: Keep the Drop Zone Small
A drop zone should not become a storage room.
It is for active daily items, not everything you might need someday.
A good rule: if you have not used it this week, it probably does not belong in the drop zone.
Keep these items out:
- Old receipts you do not need
- Random tools
- Extra shoes
- Seasonal accessories
- Unopened packages
- Old mail
- Things you are avoiding dealing with
The smaller the drop zone stays, the easier it is to use.
Step 4: Make It Easy to Drop and Easy to Grab
Your drop zone should help you in both directions.
When you come home, it should be easy to unload your hands.
When you leave, it should be easy to find what you need.
Ask two practical questions:
| Question | Why It Matters |
|---|---|
| Can I put things away with one hand? | If it is too fiddly, people will skip it. |
| Can I see the important items quickly? | If things disappear, the zone becomes frustrating. |
Hooks usually work better than hangers. Open baskets usually work better than boxes with lids. Trays usually work better than drawers for things you use daily.
The easier the motion, the more likely you are to repeat it.
Step 5: Give Paper a Deadline
Paper is where drop zones often break.
Mail, receipts, school forms, and appointment cards can collect quickly. If every paper stays “for later,” the paper zone becomes a pile.
Use a simple deadline rule.
Once or twice a week, sort the paper into three choices:
| Choice | Action |
|---|---|
| Keep | File it where important papers belong |
| Do | Pay, reply, sign, scan, or schedule it |
| Remove | Recycle or throw it away |
Do not make ten categories. Three is enough.
If a paper needs action, write the action on your task list or calendar. Then move the paper where it belongs. The drop zone should remind you, not hold your whole life hostage.
Step 6: Add a Return Bin
A return bin is one of the most useful parts of a drop zone.
This is where you put things that need to leave the house:
- Store returns
- Library books
- Borrowed items
- Packages to mail
- Items for a friend or family member
- Things to take to the car
Without a return bin, these items sit on counters because you are afraid to forget them.
With a return bin, they wait near the door, where they are easy to grab.
Step 7: Make One Version for Each Type of Home
The drop zone method works in different spaces. The setup just needs to match your home.
| Home Situation | Best Drop Zone Setup |
|---|---|
| Small apartment | Wall hooks, narrow shelf, one tray, one mail basket |
| Family home | Hooks for each person, shoe basket, return bin |
| Shared house | Separate small baskets or hooks for each person |
| No entryway | Use the nearest kitchen counter corner or closet door |
| Very small space | One wall hook, one tray, one paper folder |
You do not need the perfect entryway. You need one reliable landing place.
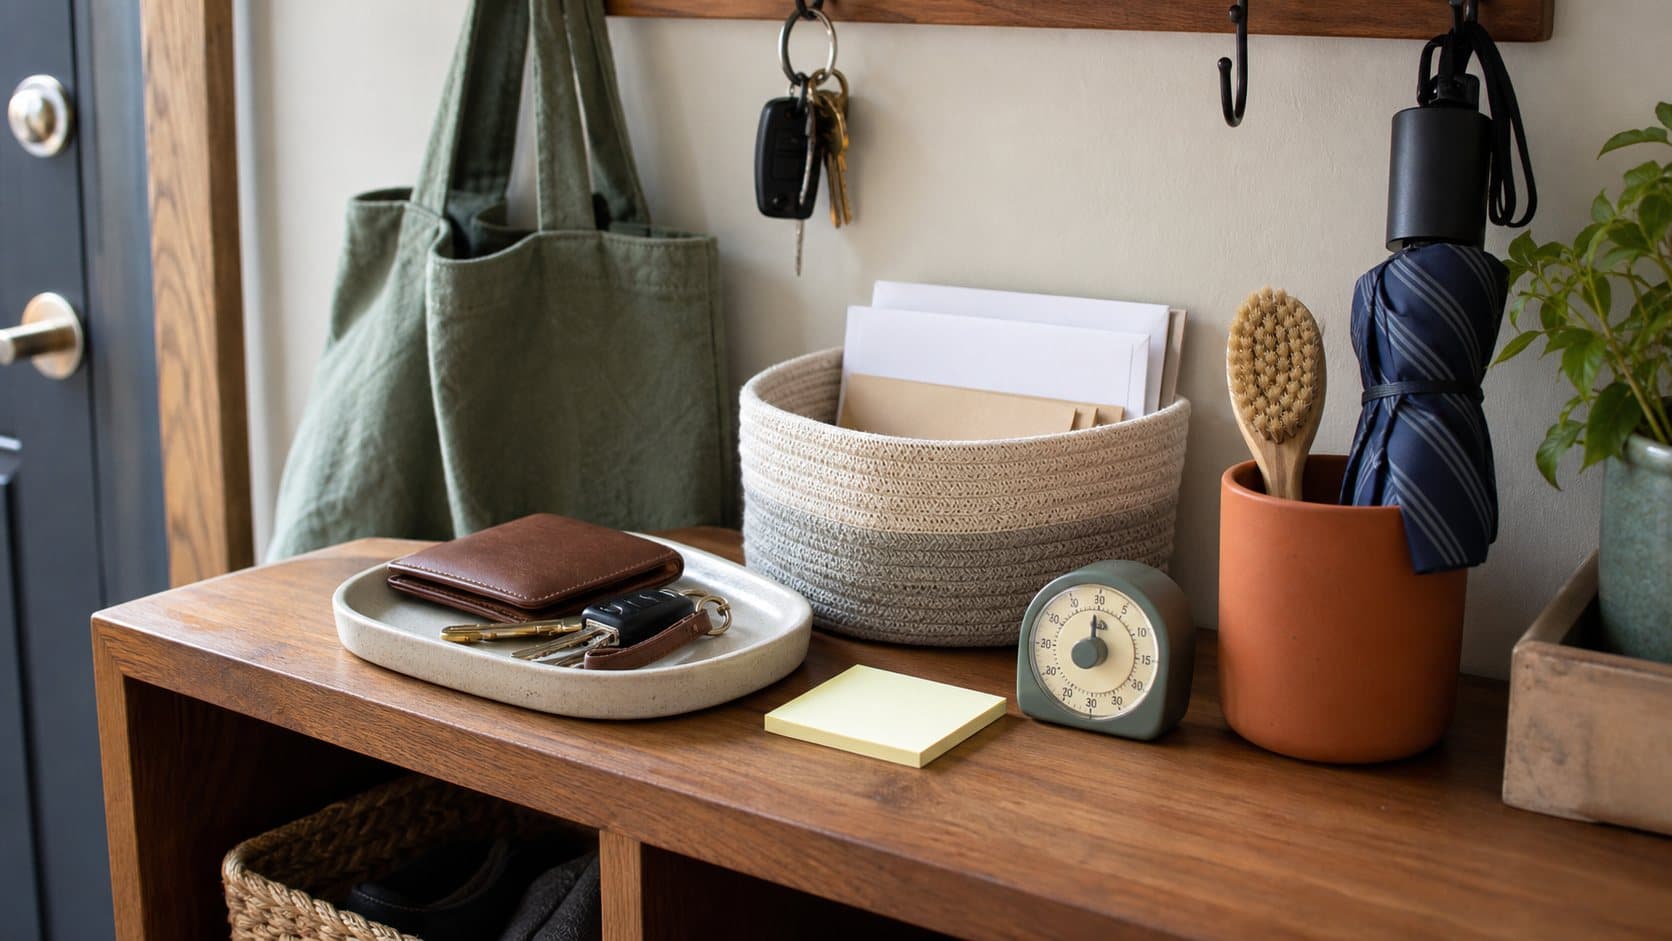
Step 8: Reset It in Five Minutes
A drop zone only needs a quick reset.
Set a timer for five minutes once or twice a week.
Do this:
- Put keys, wallet, and daily items back in their spots.
- Move old mail out of the paper zone.
- Remove extra shoes.
- Empty receipts and trash.
- Check the return bin.
- Put away anything that does not belong.
That is enough.
Do not turn the reset into a full cleaning session. The power of the system is that it stays small.
The “One-Touch” Rule
The one-touch rule is simple: when you walk in, touch each daily item once.
Keys go in the tray. Bag goes on the hook. Mail goes in the basket. Shoes go on the mat. Returns go in the bin.
You do not drop the keys “for now” and move them later. You put them in the right place the first time.
This sounds tiny, but it removes a surprising amount of mental noise.
What Not to Do
Do not buy storage before you know what you need.
Start by watching what actually lands near your door for three days. Then choose containers based on real items, not an ideal version of your home.
Do not hide everything behind lids.
Closed storage looks neat, but it can be annoying for items you use every day. If you have to open a lid every time you come home, the lid may become a reason to skip the system.
Do not make the drop zone too decorative.
A pretty tray is fine. A plant is fine. But if decor takes up the space needed for keys, bags, and mail, the drop zone will fail at its real job.
Do not expect everyone to use it perfectly on day one.
Make the system easy, then adjust it when you see what people actually do.
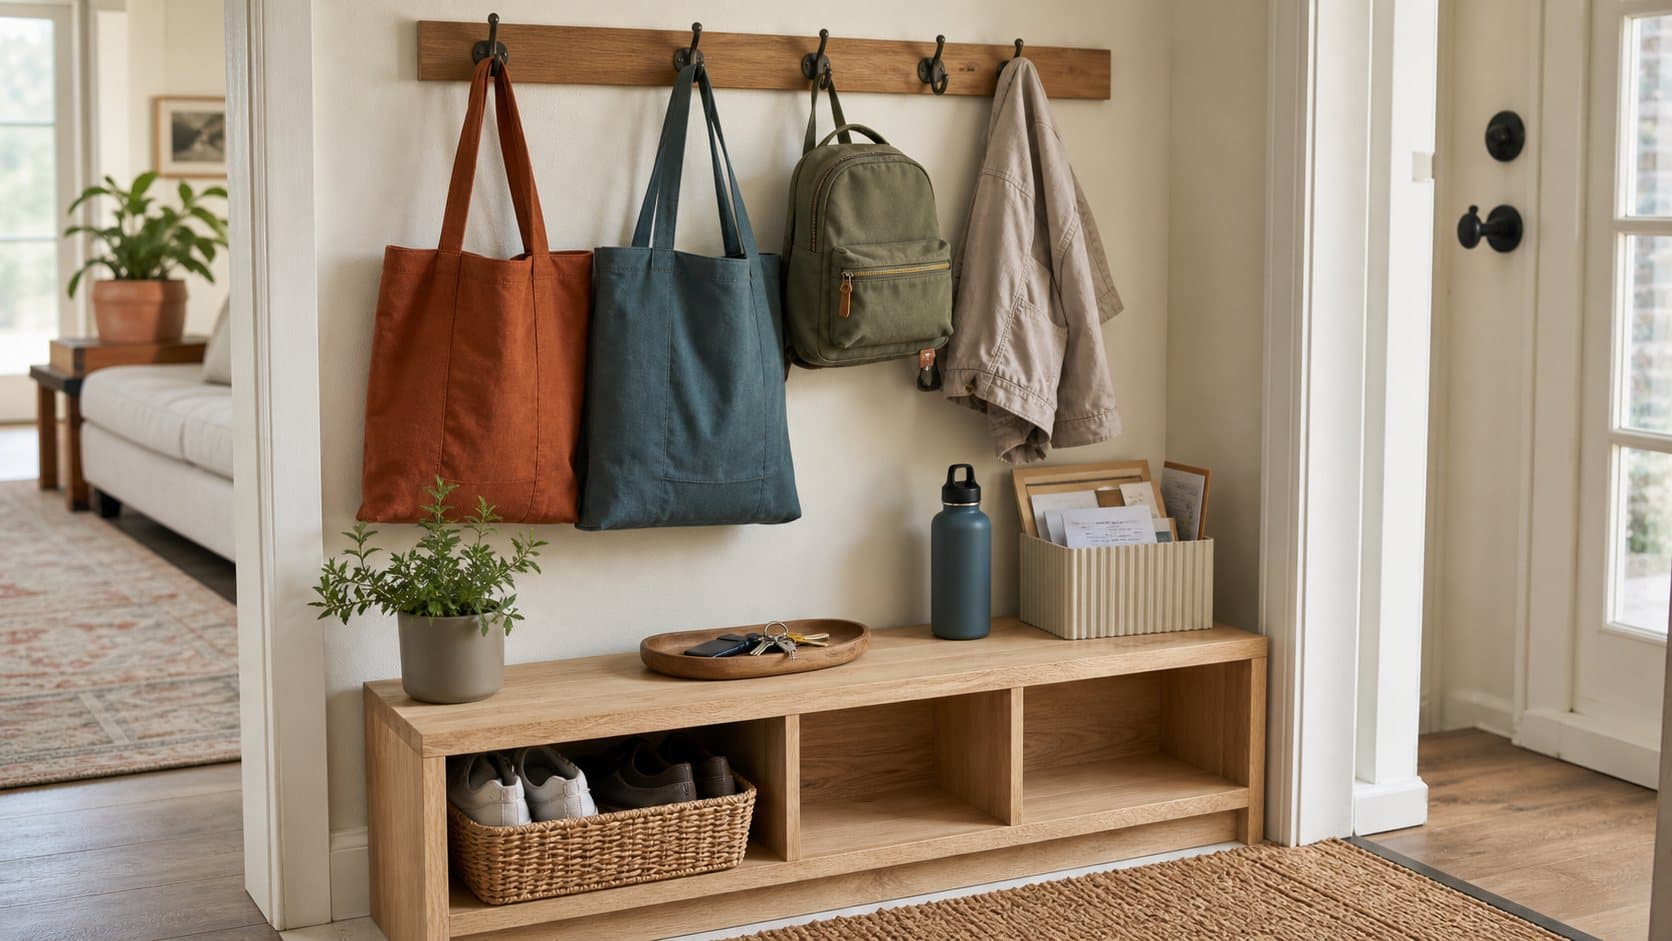
A Simple Starter Setup
If you want the easiest version, start with five pieces:
| Item | Purpose |
|---|---|
| Small tray | Keys, wallet, sunglasses |
| Mail basket | Letters, forms, receipts |
| Two hooks | Bag, jacket, umbrella |
| Shoe mat | Daily shoes |
| Small return bin | Items that need to leave |
That is enough for most homes.
You can upgrade later, but you do not need to.
The 10-Minute Setup Plan
Here is a quick way to create your first drop zone today.
| Minute | Task |
|---|---|
| 0-2 | Clear the area where items usually land |
| 2-4 | Group items into keys, paper, bags, shoes, returns |
| 4-6 | Choose a tray, basket, hook, or mat for each group |
| 6-8 | Remove anything that does not belong there |
| 8-10 | Test leaving and entering with your daily items |
If the setup feels awkward, change it. The best system is the one you actually use.
Final Thought
A calmer home does not always come from cleaning more.
Sometimes it comes from giving everyday items one obvious place to land.
The drop zone method works because it is small, visible, and practical. It catches clutter before it spreads, makes leaving the house easier, and saves you from searching for the same things every day.
Start with one tray, one basket, and one hook. That is enough to make the first difference.
Found this useful?
Send it to someone who should read it.